Website Photography
By
CRT & Associates, Inc.
Having it done for you
Multiple studies have shown that your website’s images have the highest impact on your visitor’s engagement. They are also the most cited reason a visitor to your e-commerce site will make a purchase. Large, clear images of your products is the number one determining factor for a successful sale. So how do you get the images that ensure your success? Most website designers require you to provide the images used in your site. They may provide guidance as to what they need. Sometimes they may provide the name of a photographer they work with, but YOU need to provide the images.
If you don’t have the time and you do have the funds to hire a professional photographer, do it. Their experience will save you a ton of time and help get that site up quicker with first rate images. If you have a large number of products you need images for, get a professional. They will have a studio set up to get the photos done in mass. In some cases, they may have a mobile studio they can bring to your business. Pricing varies, with some charging by the image and others by the hr. Either way, make sure your contract leaves you with copyrights and ownership of the images.
Doing it yourself
Before you grab your cell phone and begin “clicking” away, make a plan. You will probably need at least three categories of images/photos, general interest, products, branding. Lets get branding out of the way right now. Branding includes logos, maybe images of your store, or manufacturing facility. Branding might also include color backgrounds, etc. Anything that you use to “key” a customer that they are dealing with you. If your business does not have a design guide, we strongly encourage you to create one. Your design guide should include specifics about your company colors, fonts, taglines and, if possible, the “vibe” you want your company to project. Include how and when your logo can be displayed. If you have variation of your logo, nail down when each is allowed to be used. Its your business, you make the rules how your business is presented to the public. If you don’t, someone else will.
Brand Images
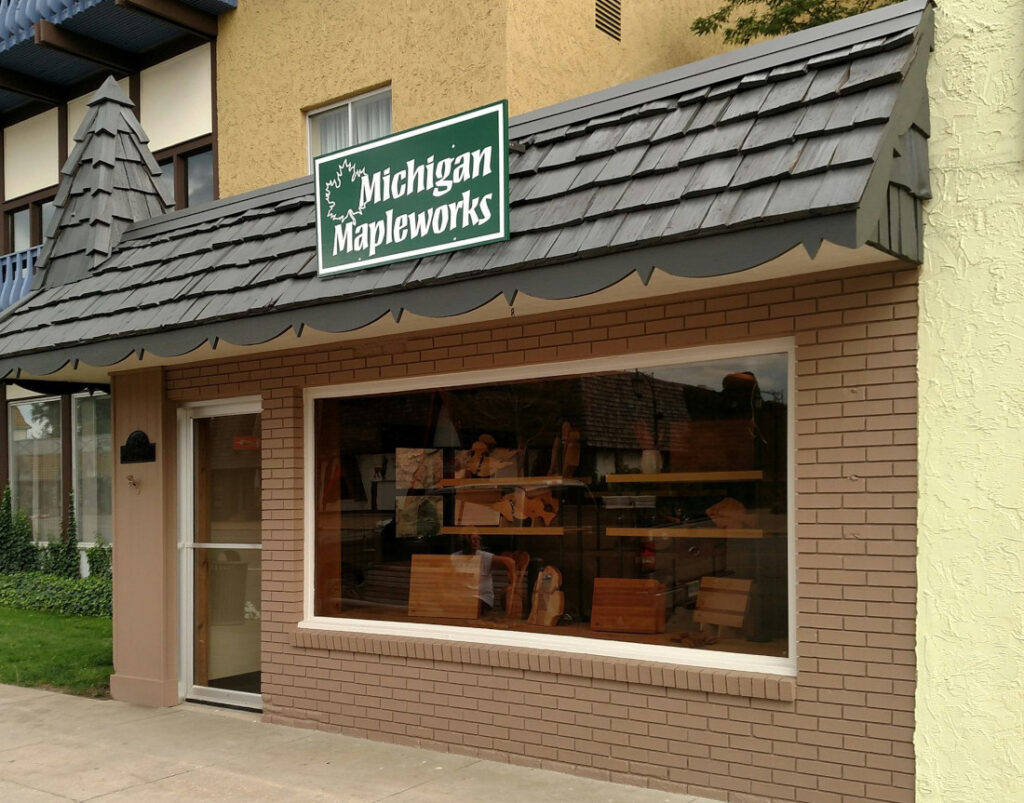
Branding images should be crisp and clear. This article is not about logo creation. Most businesses, have a handle on their logo image. Any photo used for branding should be carefully created. Images of your business should, first of all, provide people looking for your business a clear image of what they are looking for. To that end, take the photo from the position THEY will see it from. Take the photo from the curbside. Take it during hours when customers will be visiting. It makes no sense to take a overhead drone photo to help customers find you. Try to take your business photo on a nice day.
General Interest Images
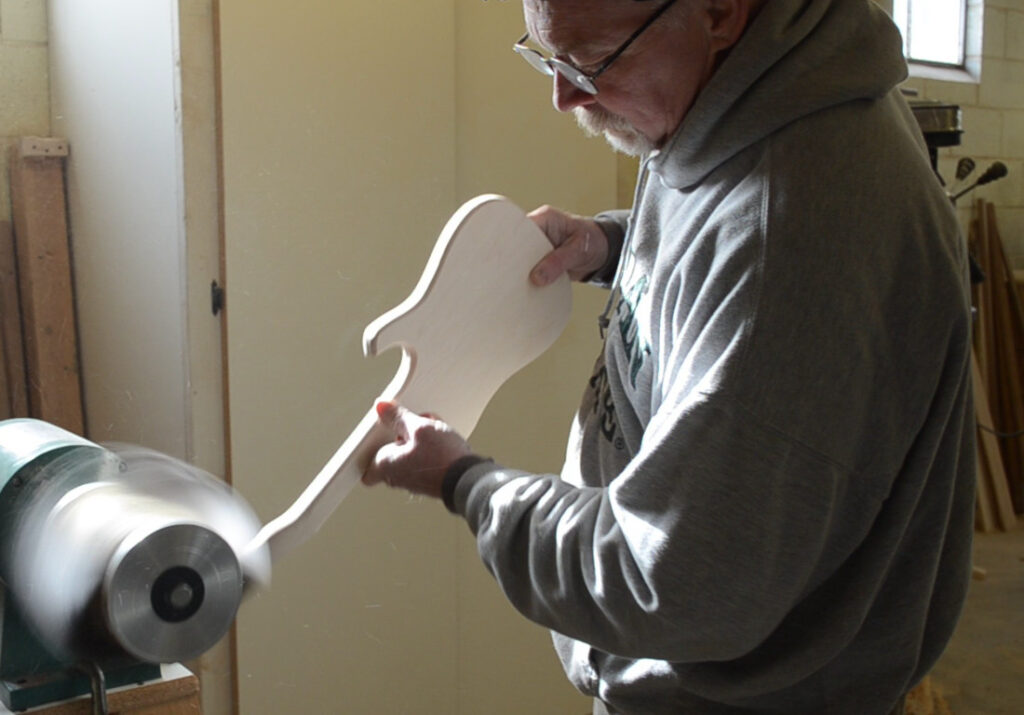
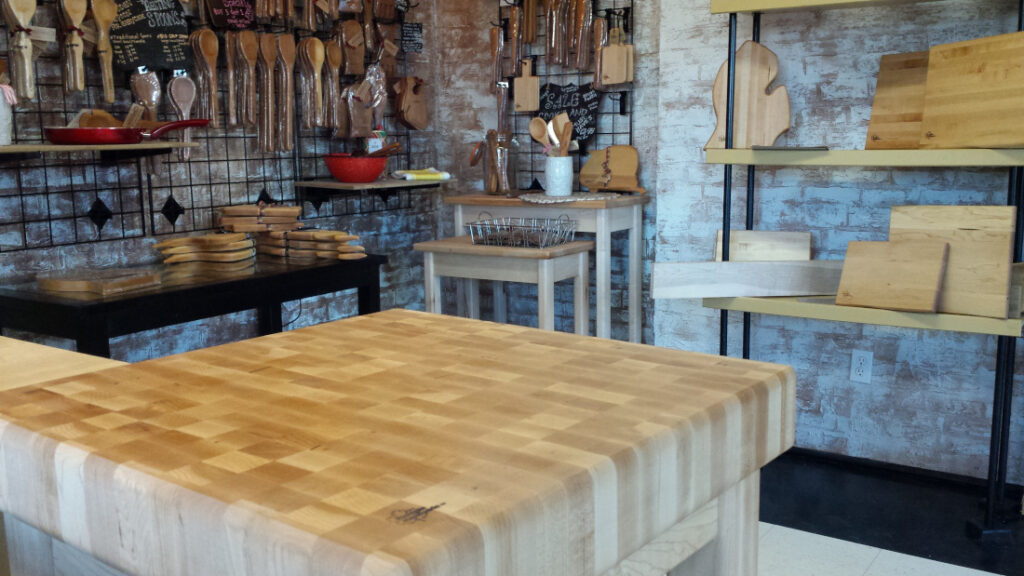
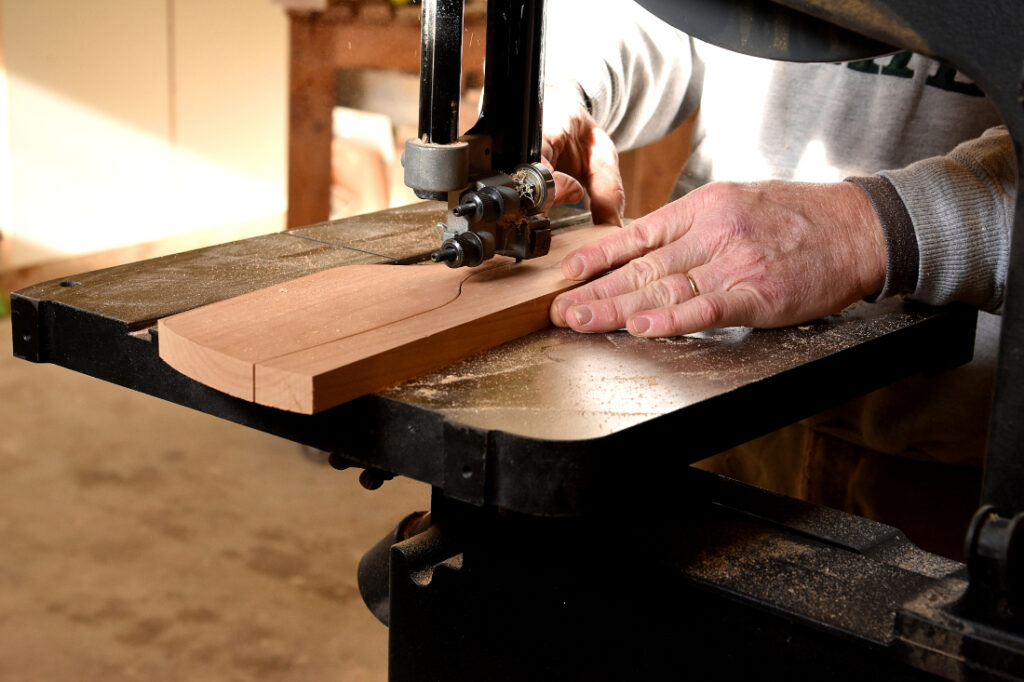
General interest images provide context to visitors about the business. An overhead drone photo here would be appropriate. Images of the store’s inside, showroom, warehouse and other business assets would also be correct. We like to show people at work, especially if the business is a craft. Remember to get the lighting right. Remember to include close-ups. Do not include customers in your photos, unless you have a signed release, not just their “OK”.
Product Images
More than anything, great photos sell products on-line. On-line selling puts the customer at a disadvantage. We always try to keep this in mind. Do your best to minimize the fact that the customer does not have the product in hand. Create clear, large images. Allow them to be zoomed if possible. Show multiple views of the product.
For products, lighting is critical. The wrong lighting could cause the product to display in an “off” color. The wrong lighting can create shadows that prevent some parts of the product from displaying at all.
The Technical Stuff
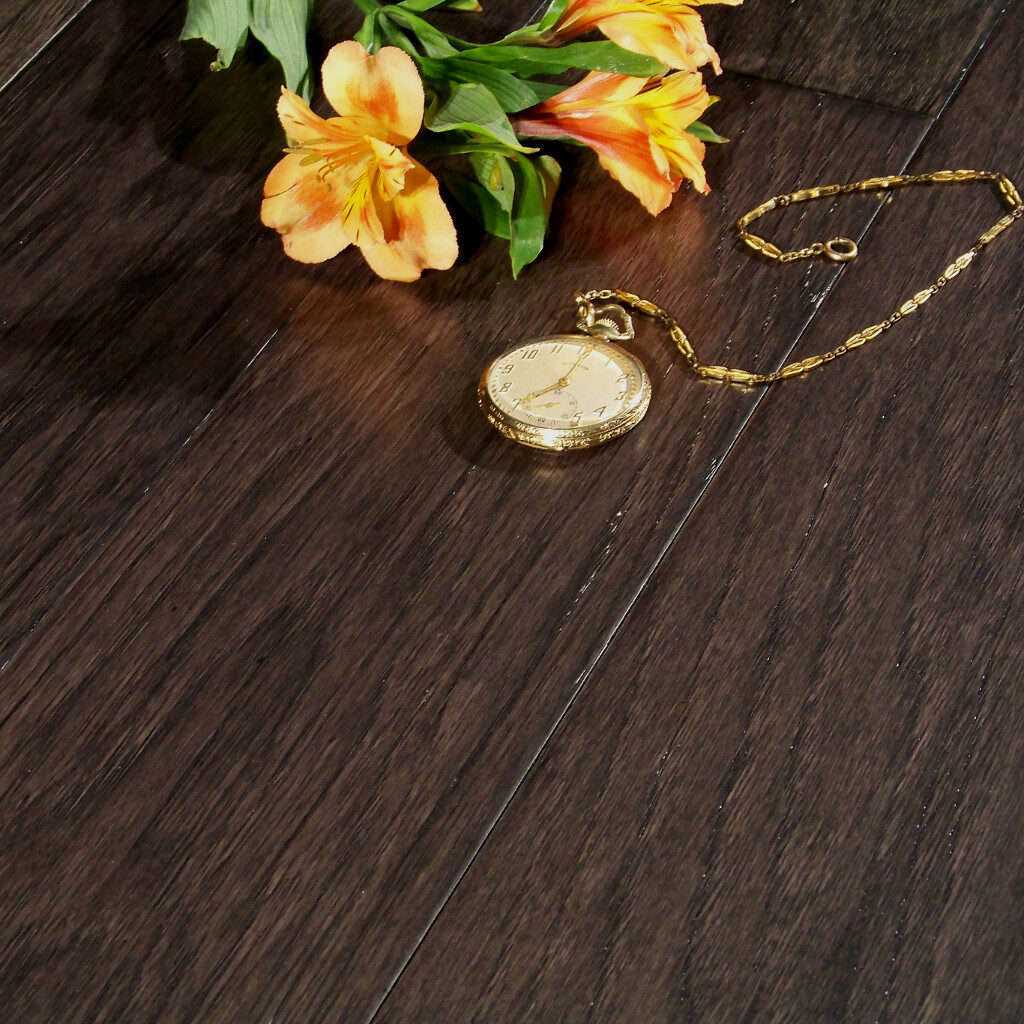
At CRT we do all the photography for the websites we create, if the customer agrees. When we do a shoot for products we start by thinking about the customer’s design guide if they have one. In the WoodHouse Flooring image above, the company’s “vibe” is “Traditional”, “Heirloom”, “Quality”. Keeping that in mind, we needed to accurately convey the sheen, color and scale of the floor. We deployed the props on the floor to accomplish this. The texture is also important, so to help show the texture, a single point source light was used.
Lighting
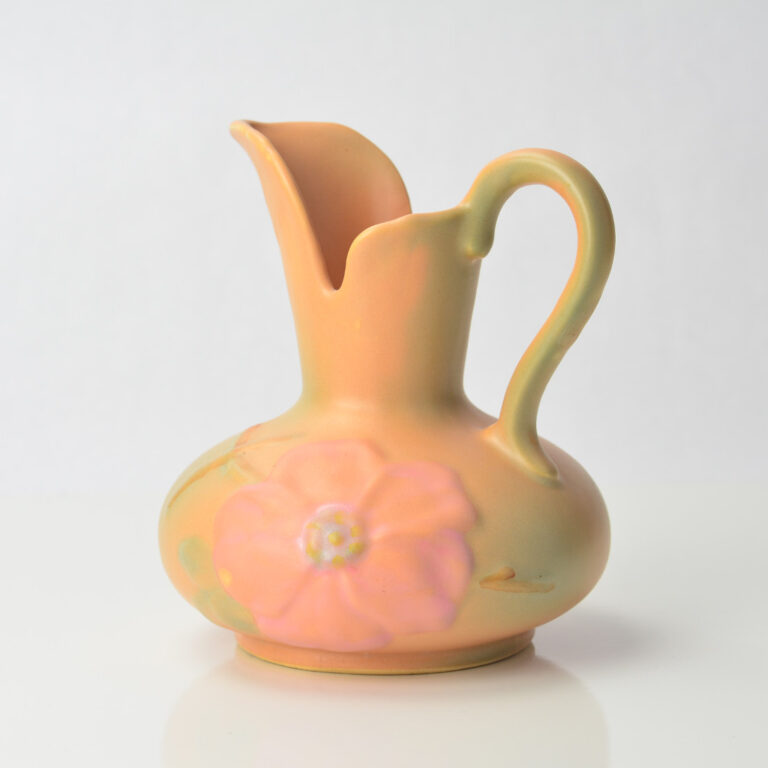
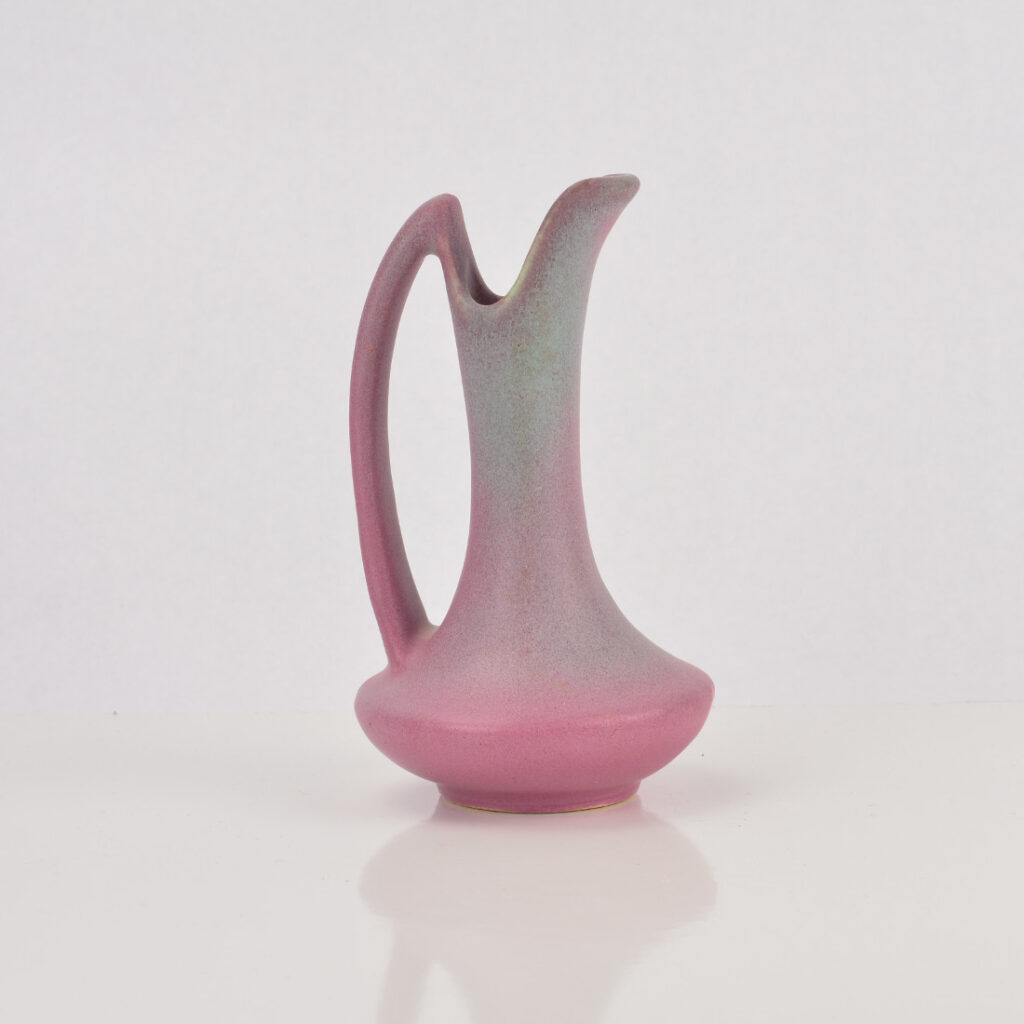
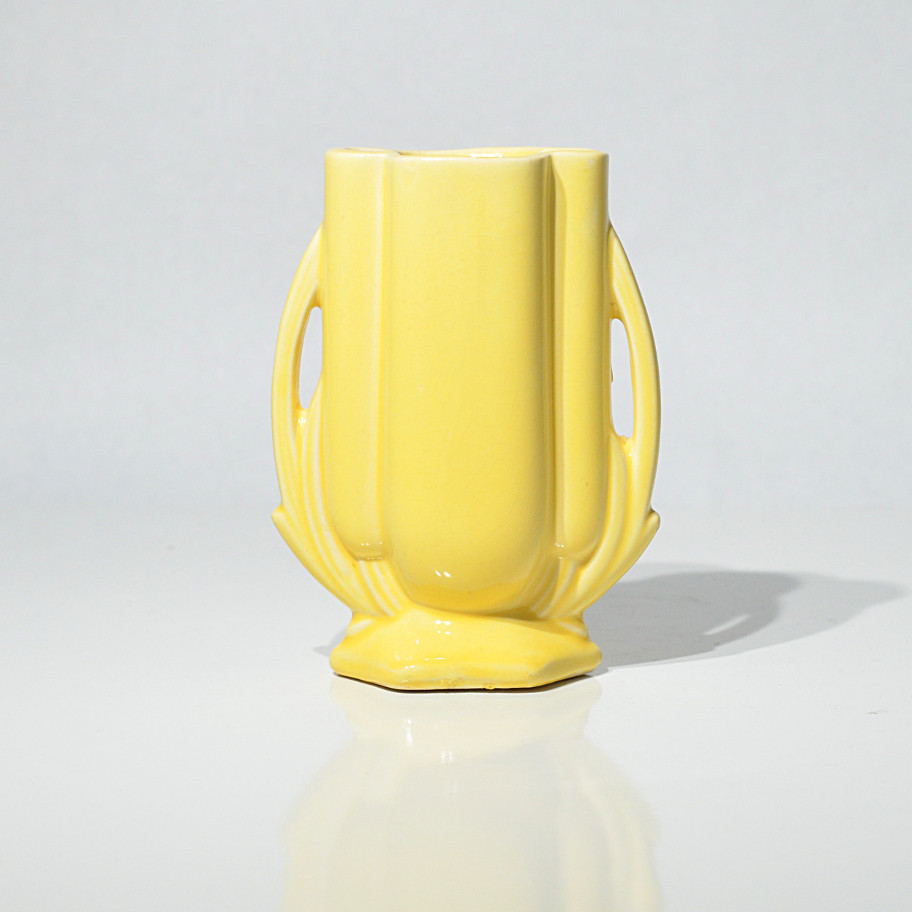
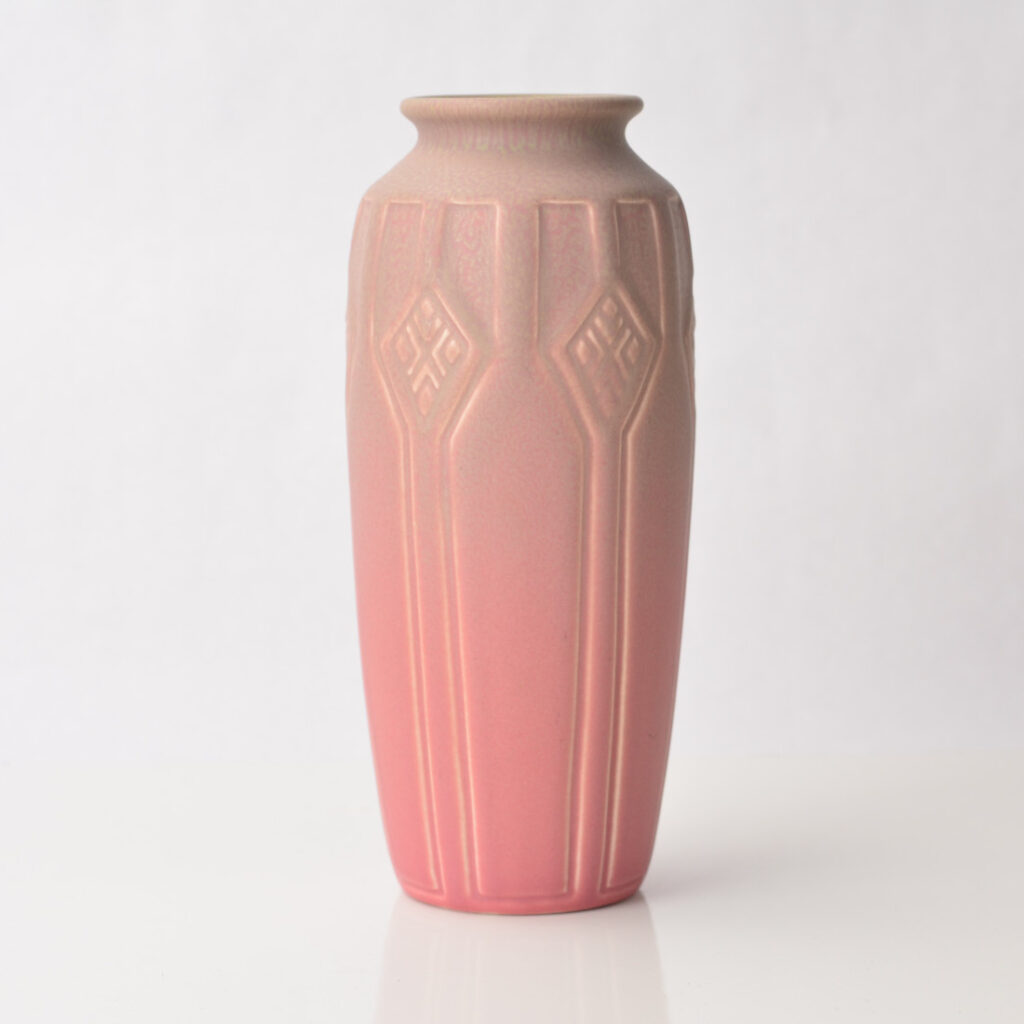
We use full spectrum lights. These lights provide a clear, clean, white light at about 4000K. Using full spectrum lighting ensures that the products color is very accurate in the image. For the pink Niloak vase from the Only Clay site (above), large diffusers were used to soften the light. We used a glossy platform to give the image a clean modern feel. For that shoot we placed lights left, right and overhead-left. When setting up, make sure you give your lights plenty of time to come up to temperature, at least 10 minutes, before starting the shoot.
Camera and lens
We use quality DSLR cameras. I use a vintage prime 50mm, f1.8, manual focus lens. I do this because this lens is able to resolve an image far finer than the sensor in the camera. We also use shutter speeds of around 1/30 sec. An ISO of around 100 and an f-stop of 11. By stopping the lens to f11 we create a large depth of field, meaning all of the product is in focus. Whenever possible, shoot products from a tripod mounted camera.
Composition
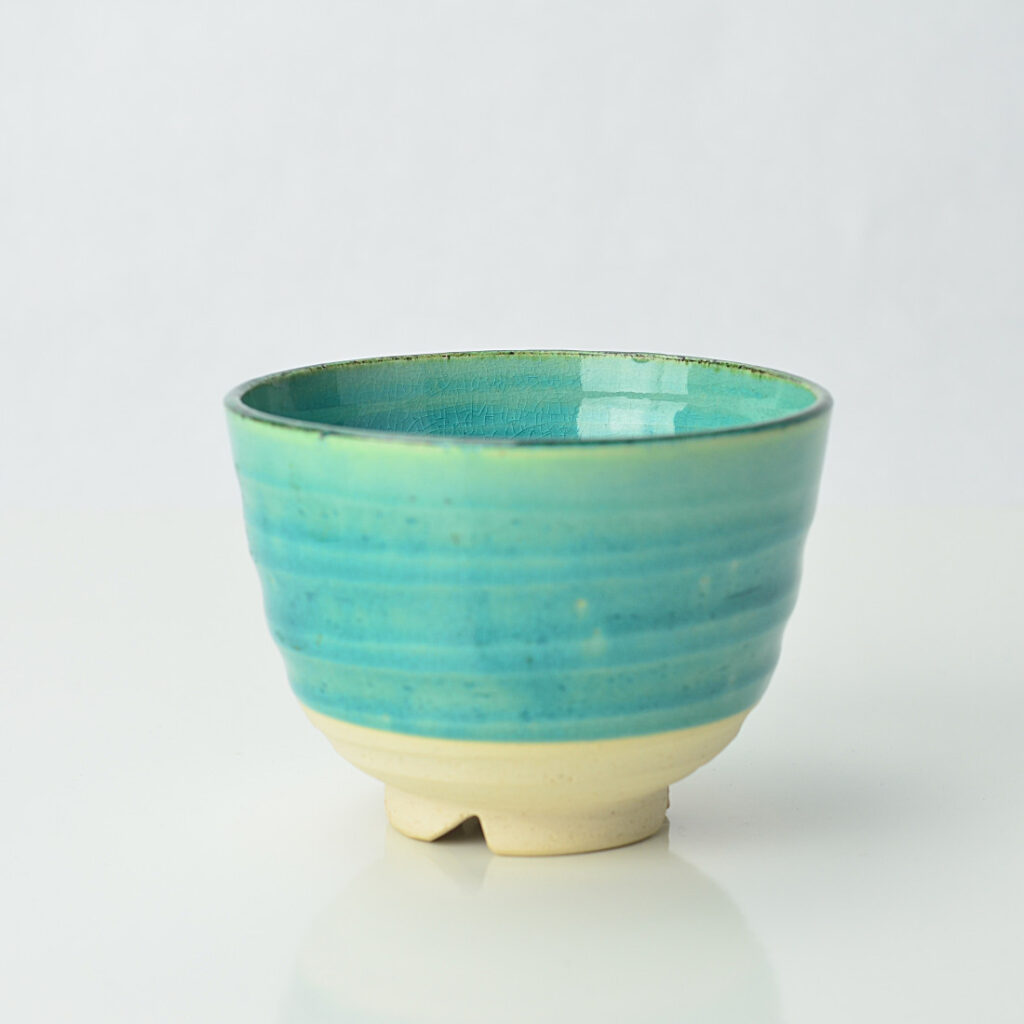
When composing the shot leave more space around the image than you think is needed. By doing this you ensure the product is the subject even if the image is used on a busy webpage, or latter shared on a busy site. Always use a color neutral background, grey. If you use a colored background, the image’s white balance will drift causing the product to have a “tint”.
Post Production
There is a great temptation to “enhance” the image prior to putting it on the site. Resist. If you have set up your studio correctly, very little, if any, post production work will be needed.
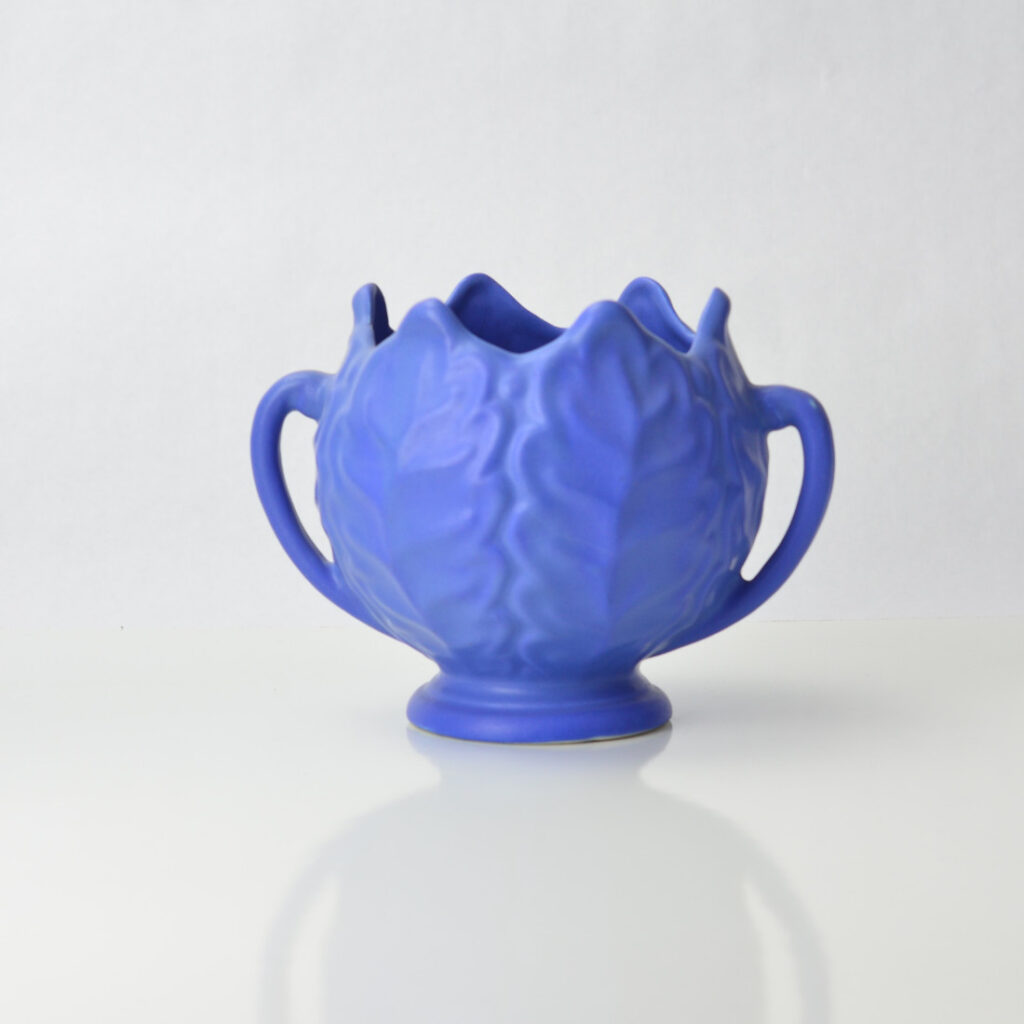
Product Images from Only Clay
